A coat that is matted, contaminated, or impossible to brush through is a grooming problem first and a clipping problem second. This guide explains how to shave a cat safely, when shaving is actually justified, what tools make the job less risky, and how to handle the behavior side so the process does not become a fight. I also cover the mistakes I would avoid immediately, because with cats, the wrong shortcut usually creates a bigger problem than the fur itself.
The safest approach starts with the coat, not the clippers
- Most cats do not need a full shave; mats, medical issues, and contamination are the main exceptions.
- Never use scissors on close mats because the skin sits tighter under the mat than it looks.
- Severe, widespread, or skin-bound mats are usually safer for a professional groomer or veterinarian.
- Short, calm sessions with treats work better than trying to finish everything in one pass.
- After any trim, watch for redness, nicks, heat from the blade, or increased licking and hiding.
When shaving is appropriate and when it is not
The first decision is not how to clip the coat; it is whether clipping is even the right answer. In healthy cats, the coat does a job: it protects skin, helps regulate temperature, and shields against sun exposure. The ASPCA advises that a cat’s coat acts like a natural cooling system, so shaving to the skin is usually the wrong way to handle summer heat.
| Situation | Better response | DIY or pro |
|---|---|---|
| Loose shedding only | Brush and comb regularly | DIY |
| Small surface tangles | Gently work them out with a comb or dematting tool | Usually DIY |
| Large mats near the skin | Use clippers carefully or get professional help | Often pro |
| Feces, urine, sticky debris, or severe matting | Clip only if safe, then check the skin for irritation | Usually pro or vet |
| Cat panics, bites, or cannot stay still | Stop and reschedule with a groomer or vet | Pro |
I only consider a trim at home when the coat is genuinely unmanageable and the cat is still calm enough to work with safely. Once the skin is sore, the matting is widespread, or the cat is clearly escalating, the problem has moved out of normal grooming territory and into professional care. That brings us to what you should have ready before a single blade touches fur.
What to prepare before you start
Preparation matters more than confidence here. If I am going to clip a cat at home, I want the room calm, the tools ready, and the session short enough that the cat is not forced to endure a long struggle.
- Clean, sharp pet clippers with a cool blade
- A metal comb and a slicker or bristle brush appropriate for the coat type
- Treats the cat actually likes, not generic leftovers
- A towel or non-slip mat to keep the cat steady
- Good lighting so I can see the skin, not just the fur
- A helper if the cat wriggles or flinches easily
- A quiet room with the door closed
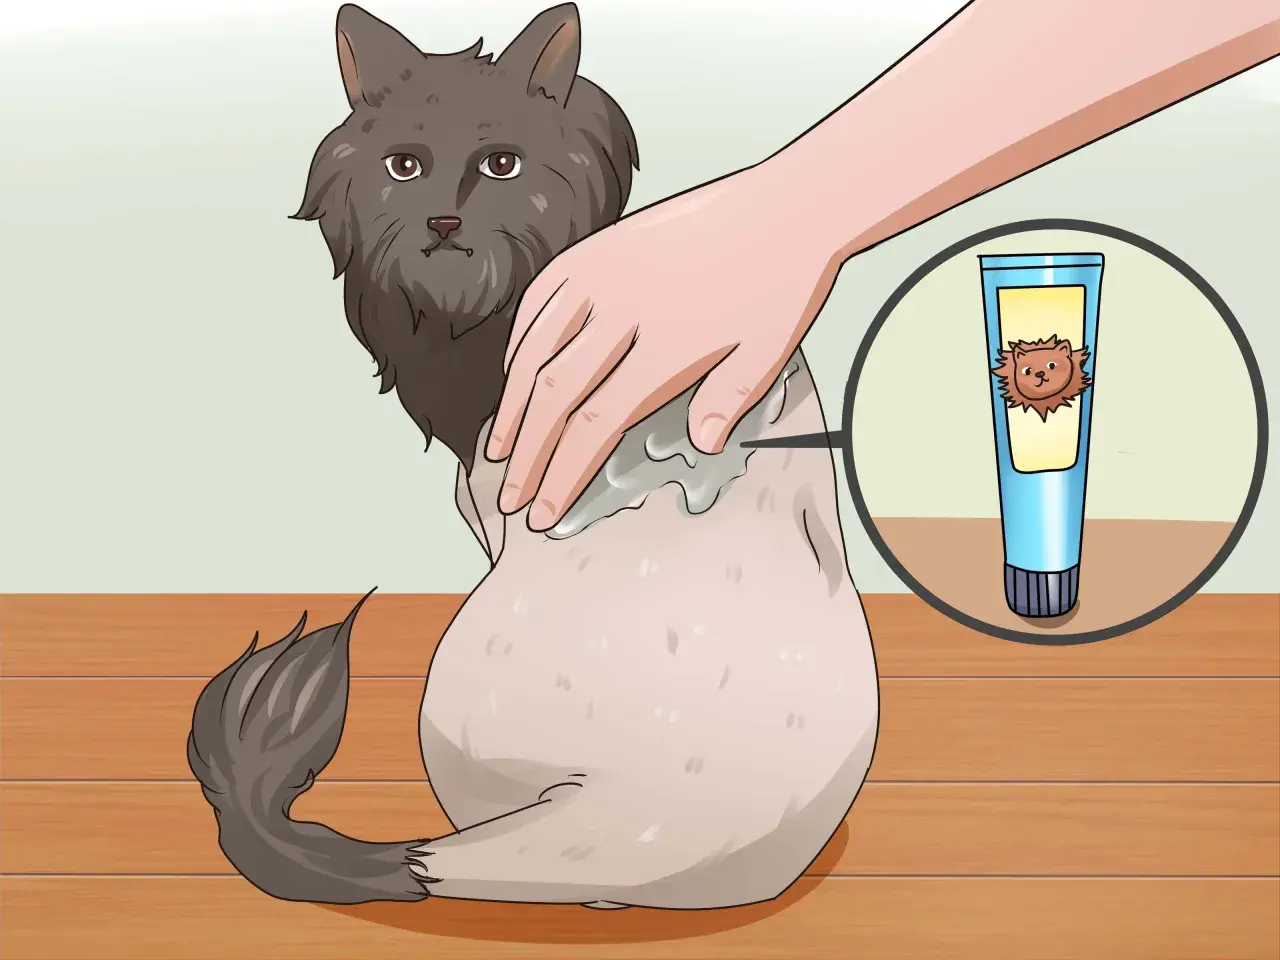
Before I start, I brush or comb the coat as far as it will go without forcing it. I also test the clipper blade on my hand often, because a hot blade can irritate skin fast. If the blade feels warm to me, it is already too warm for a cat. Keep sessions tight, usually 5 to 10 minutes at a time, then stop, reward, and reassess.
Once the setup is right, the actual clipping is much less chaotic. The next section is the part most people want first, but the prep is what keeps the job from turning into a mess.
The safest step-by-step approach
- Let the cat settle in the room for a minute or two before you begin.
- Use a calm voice and a few treats to create a predictable routine.
- Start with the least sensitive area, not the belly or rear end.
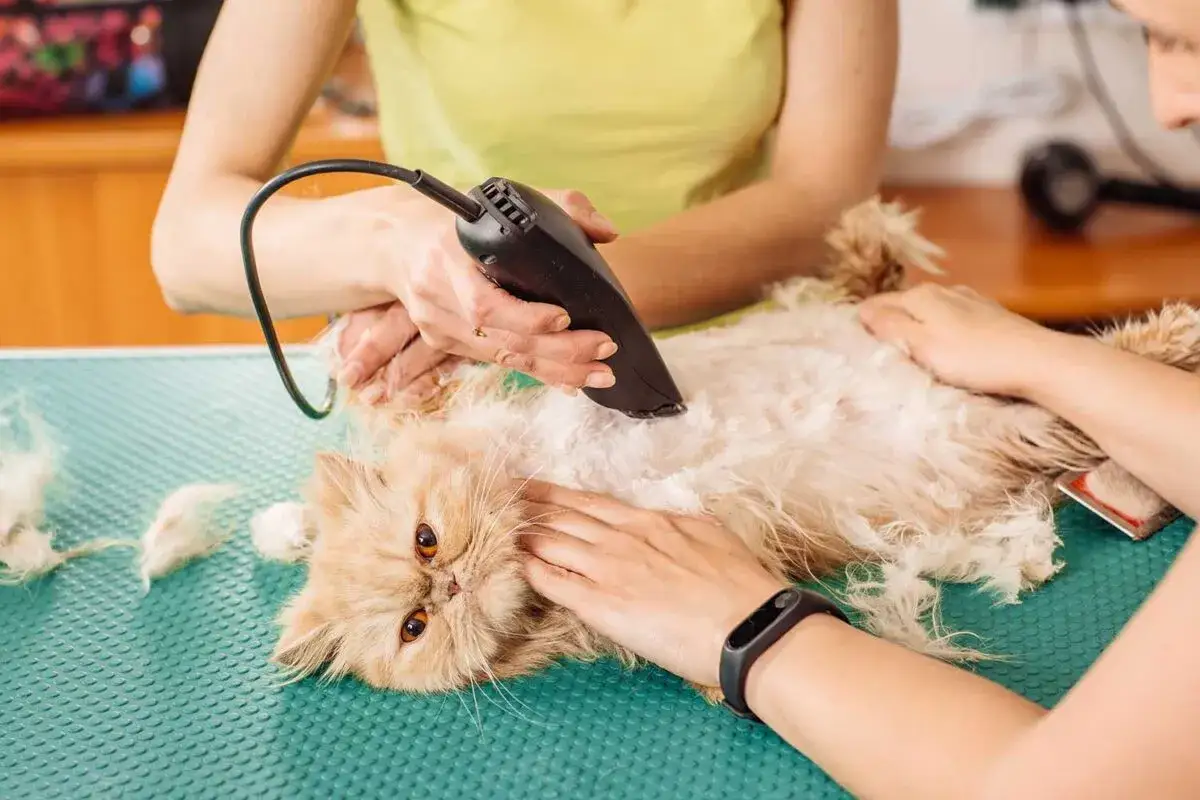
- Keep the blade flat and use slow, shallow passes instead of digging into the coat.
- Work around the edge of a mat first if the mat is loose enough to lift safely.
- Pause often to feel the blade temperature and to check the skin.
- Stop immediately if the cat tenses, swats, or starts trying to bite.
- Finish with a comb-through and a quick skin check for redness, nicks, or trapped debris.
When the coat is heavily matted, I do not try to “win” against the mat. I clip conservatively, take tiny sections, and back off if the skin is pulled tight. VCA Animal Hospitals notes that severe or widespread mats may need professional care, and in some cases a veterinarian can sedate the cat for pain-free removal. That is not a failure; it is the safer decision when the coat and the cat both say the same thing.
What matters most in this step is restraint. A rushed shave creates more injuries than a slow one, and cats remember that stress the next time the clippers appear.
How to handle mats, sensitive spots, and skin problems
Not every part of the coat deserves the same approach. A mat on the flank is one thing; a mat in the armpit, groin, or belly is another. Those areas move constantly, the skin is thinner, and the cat is more likely to resist.
Mats close to the skin
If a mat is tight against the skin, I do not pull it up to “get underneath” with scissors. That is exactly how cats get cut. The safer option is to use clippers carefully, or to hand the job to a groomer or vet when the mat is too tight to lift without pain.
Belly, rear end, and inner legs
These are the areas where cats resent handling the most. If you only need a light trim, I would not take the coat down to bare skin. Leaving some length, roughly an inch or so on a trim job, helps preserve the coat’s protective function and reduces the chance of exposing fragile skin.
Read Also: What Smells Do Cats Hate? Safe & Unsafe Deterrents
Skin that already looks irritated
If the skin is red, scabby, damp, smelly, or full of flea dirt, stop. Shaving over a skin problem does not solve the underlying issue, and in some cases it makes the irritation worse by exposing it to more friction and handling. If the coat looks wrong because the skin underneath is wrong, the real answer is a veterinary visit, not a deeper shave.
Once you separate matting from skin disease, the aftercare becomes much easier to think through. That is where many people drop the ball, because the clipping ends but the skin still needs attention.
Aftercare that keeps the skin calm
After clipping, I check the cat the same day and again over the next 24 hours. The goal is to catch irritation early, while a small issue is still small.
- Look for nicks, pink patches, or swelling.
- Watch for overgrooming, because a cat may lick an irritated area nonstop.
- Keep the cat indoors or out of strong sun if the coat was taken very short.
- Give water, a quiet resting spot, and normal routines so the cat can settle.
- Use praise and treats to make the next grooming step easier, not to force a repeat immediately.
If your cat acts chilled, hides longer than usual, or seems unusually sensitive to touch, I would slow down and monitor rather than assume everything is fine. Close clipping can change how a cat feels for a while, especially if the coat was doing more protective work than you realized. The final step is prevention, because the best shave is often the one you do not need.
The decision I make before I reach for clippers
When I look at a cat that needs grooming, I ask a simple question: is this a coat problem, a behavior problem, or a medical problem? If it is only a coat problem, brushing and gentle maintenance usually come first. If the cat is panicking, I stop and work on handling tolerance instead of forcing the issue. If the skin looks unhealthy, I treat it like a health issue, not a grooming inconvenience.
- Brush long-haired cats every day before mats become a shaving problem.
- Reward calm grooming with treats, then end the session while the cat is still relaxed.
- Introduce the sound and feel of clippers slowly instead of using them only in an emergency.
- Book a groomer or veterinarian early if the coat is repeatedly knotting in the same spots.
My rule is straightforward: if the cat needs a full-body shave, I usually want a professional involved. If the job is small, the cat is calm, and the skin is healthy, a careful trim may be enough. The more honest you are about the coat, the behavior, and the skin, the safer the outcome will be.